Nice job Carlos and greetings, good topic title. It is relevant to this report;
here is the report on efforts to mass produce 108s thereby increasing the number of 108s on the planet…
The project involves a cnc template, which is done now. A friend with a machine helped me redraw the drawing again so that it is machine perfect. It mirrors exactly. After that we ran it on a piece of 3/8" plywood. I took about a 1/2 hour. He charges $150 per hour, but we could stack them up. He told me to sell them for as much as possible, but i’ll get the cheapest price possible in case that issue comes up.
I assume that others have made an accurate drawing of the pattern on a computer, but it took me a while to get there. I was fractions of a mm off before. Basically you start with an equilateral triangle, make a copy, mirror it and set it exactly in the spot so that you have a perfect 6 point star. that mathematical position is still a question for me right now, but there is an obvious answer. That gives you the first 12 points of your 18. A 108 is 7- 18s grouped together so that they share certain points. Any way you use that first pair of triangles to generate a bigger pair that shares certain points with the first pair (another mathematical ratio). That gives you the other six points for the 18. Now position the other 6 18s sharing the necessary points. The last part should be a 30 second step with the right commands. If you work from a picture of a 108 it is easier to think about, and there are most likely other ways to get from a triangle or other polygon to a 108. Do the mathematical ratios used to generate the drawing have some deeper meaning or other use?
Another way to get a template is to use a compass or a string/nail setup to get your 108 points. Having the points only, is a problem for me though because you cant’t see the point anymore once you put the part down. How do you know if you are all centered up? The answer is, you would need to draw circles just slightly bigger than the orgone parts around each of the 108 points.
The jig holds the parts in position for you in what should be exactly the right spot. The problem is the machine is 24" wide so a big 108 jib would have to be done in sections that puzzle piece together.
So while in the process on making these 2 new 108s it came up to use the mini nipple orgones on the only available template at the moment which was 3’ across. This yielded a nice feel and brought up the question; is there an optimum spacing between the orgone parts? The answer that seems likely to me is that all the spacings so far create a working 108, but there is an optimum spacing for what ever you are trying to do. More testing needed there. The current cnc template puts the 1" base
size nipples inside of a 22" circle…
Another question came up about adding olivine. The answer i got back was put them in 1-3 of the parts. maybe i am just lazy. On the second 108, the ingredients are a crystal chip, metal, and resin. There is effort put into making sure as much metal as possible goes into each part. The resin rich version seems weak to me. Anyway the 3 ingredient model seems like a perfectly good 108.
CT busters has the list of ingredients for the dragonite 108 on the site if you are interested. They mention the shape of the orgone as being a factor, and that seems right. The nipple shape really does seem preferable to the muffin shape and pvc end cap shape that i used on the early models, but again anything metal/resin/crystal seems to make POR… The small size of the buttons doesn’t seem to be an issue. Also the people that came in contact with the nipple buttons when we were cutting the template board were all attracted to them and i gave 2 away. Got the molds on ebay from a seller that sells molds to resin crafters.
Here are steps of the process:
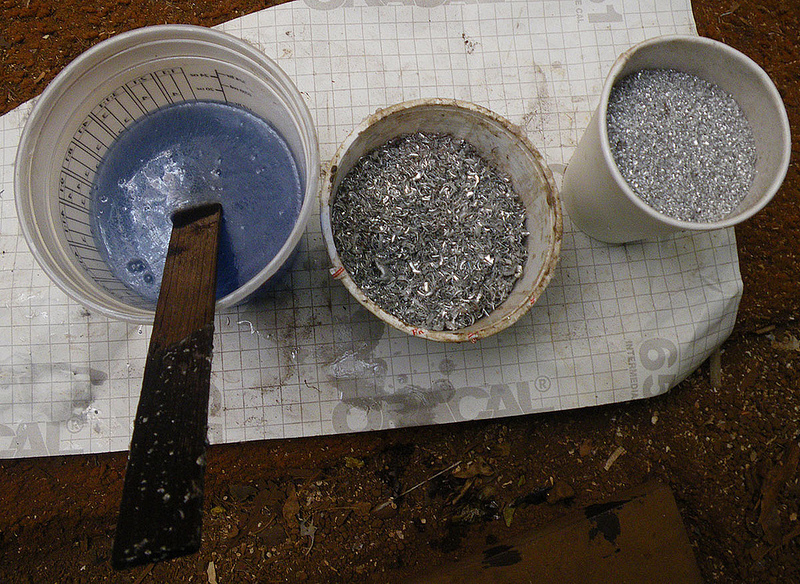
108materials by ammaui, on Flickr
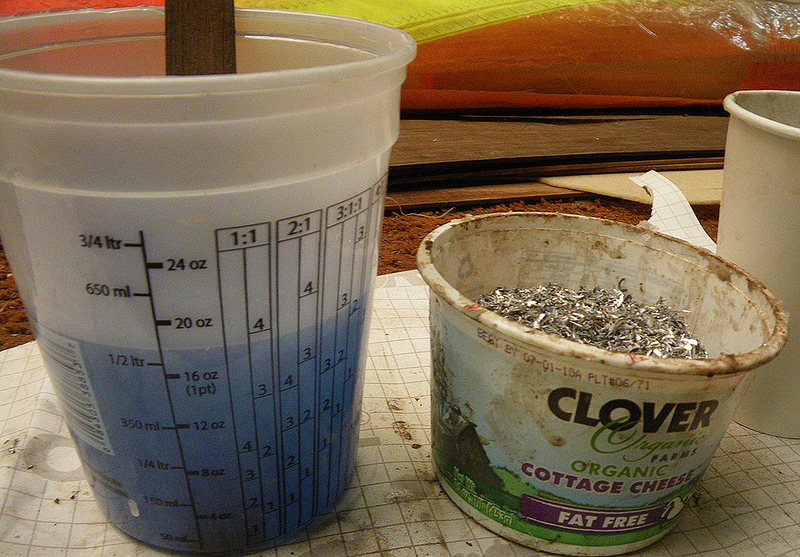
108mixing by ammaui, on Flickr
2 of the 3 main ingredients. In my case, 2 grades of fine aluminum and sufrboard laminating resin with wax additive in. This would have been about the right amount of resin for all 108 buttons, but i have 4- 16 molds so i poured the excess into a muffin pan. Always keep extra cups or molds around for your excess resin.
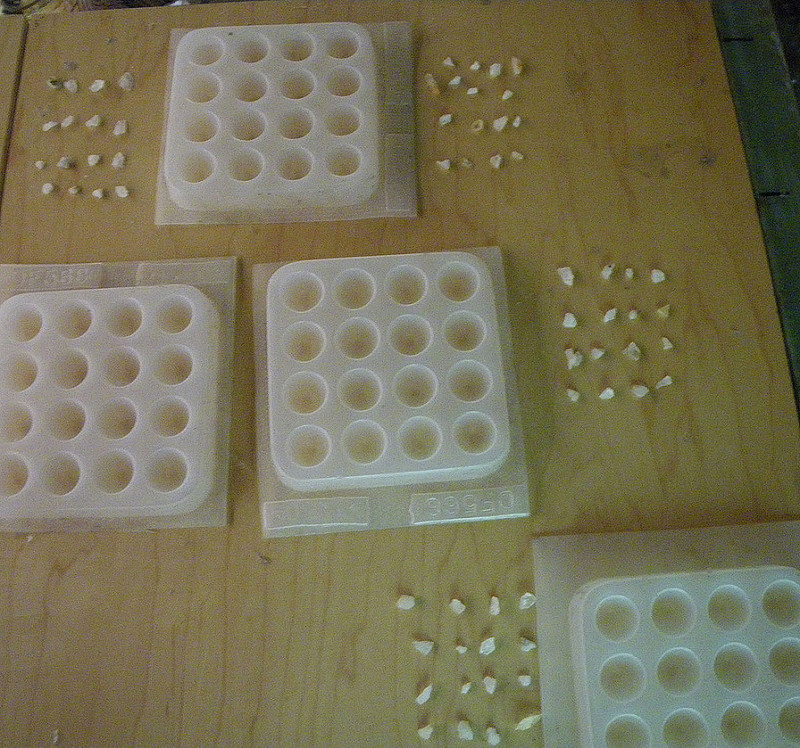
108molds by ammaui, on Flickr
Here are the molds with the crystals laid out. Put them in second after the metal mix; or before the metal if you want them to be visible once de-molded, but you would need to get the bubbles out of each nipple individually to make sure that resin is locking the crystal in place. A bamboo shish ka bob stick works well for that. During the pour, before you pick up the crystals clean the resin off your gloves with baby powder so that the crystals don’t stick to your finger tips. Or use needle nose, tweezers, etc.
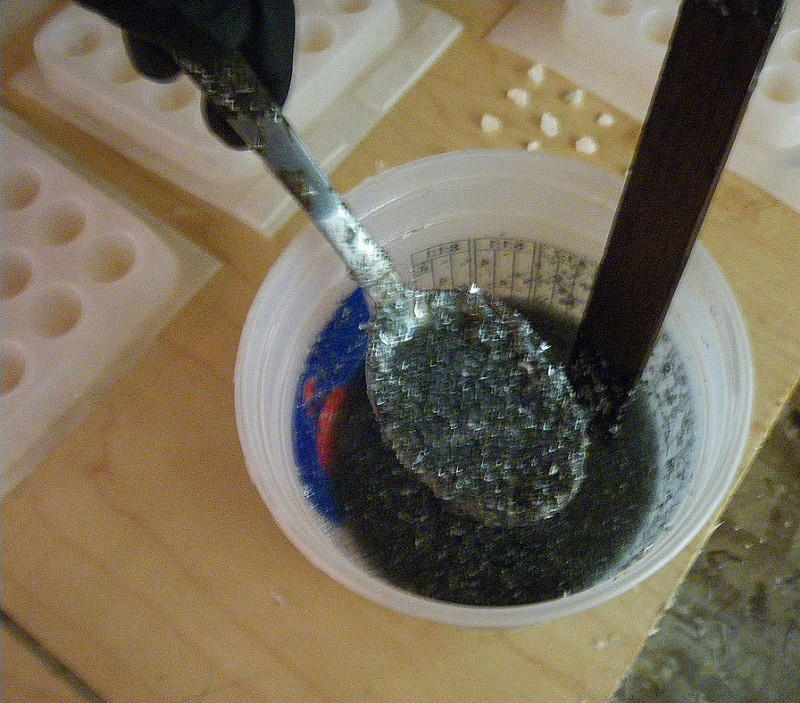
108metalratio by ammaui, on Flickr
With the fine aluminum; you have to add it to the resin in the mixing bucket, then spoon it into the mold. The best way i have found to do this is to stir in about half the metal that needs to go into the given volume of resin. Once that is stirred in, stir in the catalyst for a rather slow batch. Give yourself say 15 minutes of working time for 4 molds… Start spooning the mix into the molds at this point, but drain any excess resin from the spoon into the pot. Then slowly add metal to the mix in the pot and continue to fill the molds. You can add dry metal or mostly dry metal from drops on the table, to the nipples that look overly resin rich. This pour came out a little messy and the bottoms had to be sanded, but maybe you could do a perfect pour, use no wax in the laminating resin, and avoid the sanding.
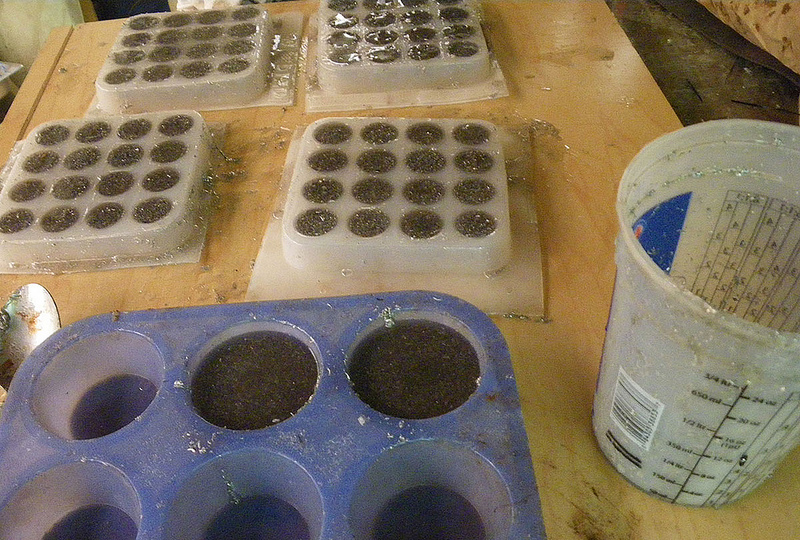
108poured by ammaui, on Flickr
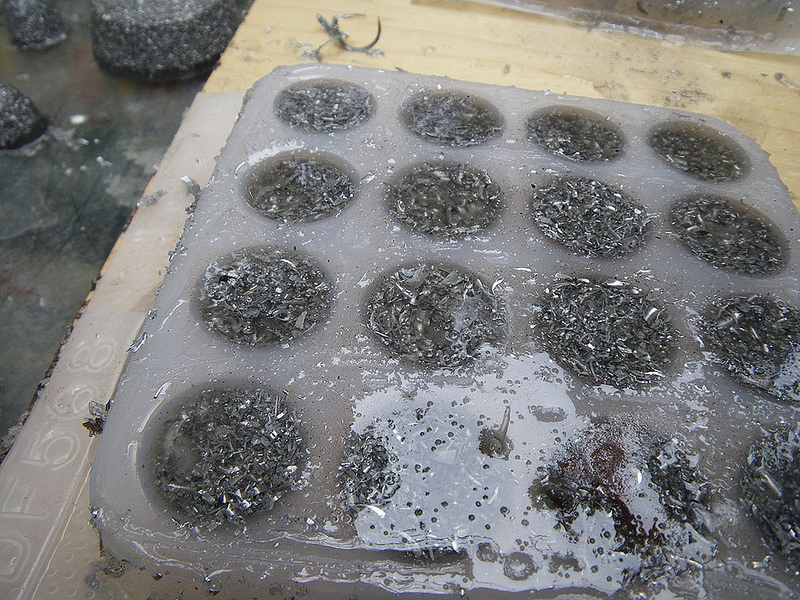
108pour-rain by ammaui, on Flickr
Here you can see that a light rain started after the pour. That was really encouraging because we have had the weirdest, dry, no wind, weather for weeks. Once i got the 3" model 108 assembled it rained for 2 days straight. A light orgone rain. Now the trades are back and the nipples were shifted to the new cnc jig size… If i hadn’t done this would the weather have still changed?..…
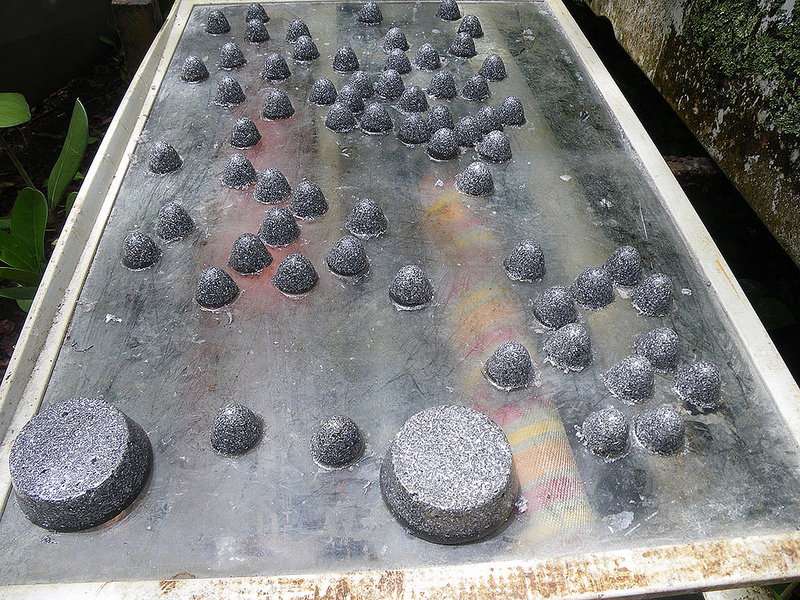
108-partsdrying by ammaui, on Flickr
Drying one of the pours.
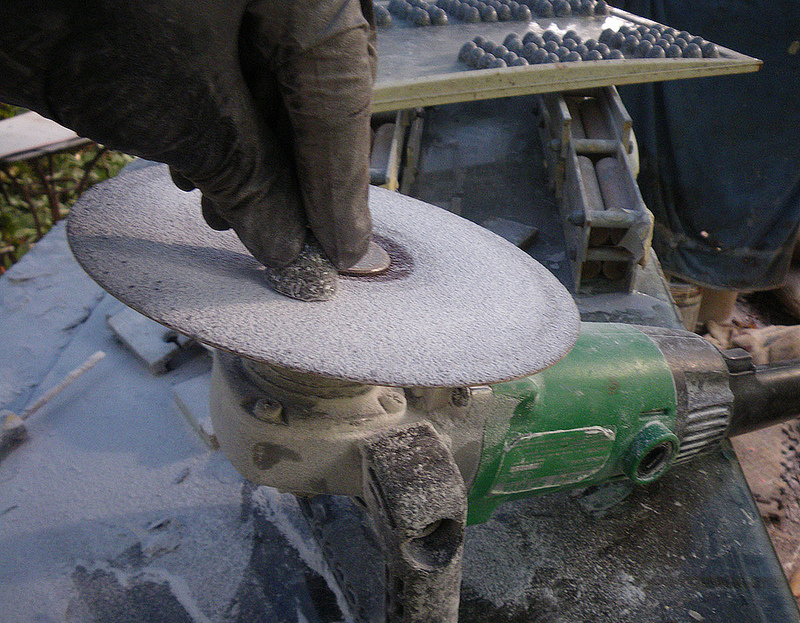
108sanding by ammaui, on Flickr
The dreaded sanding step. It really takes 2 hands with the trigger locked on, but 1 hand is holding the camera. 50 or 36 grid on the hard back at the slowest speed 550-1000 rpm
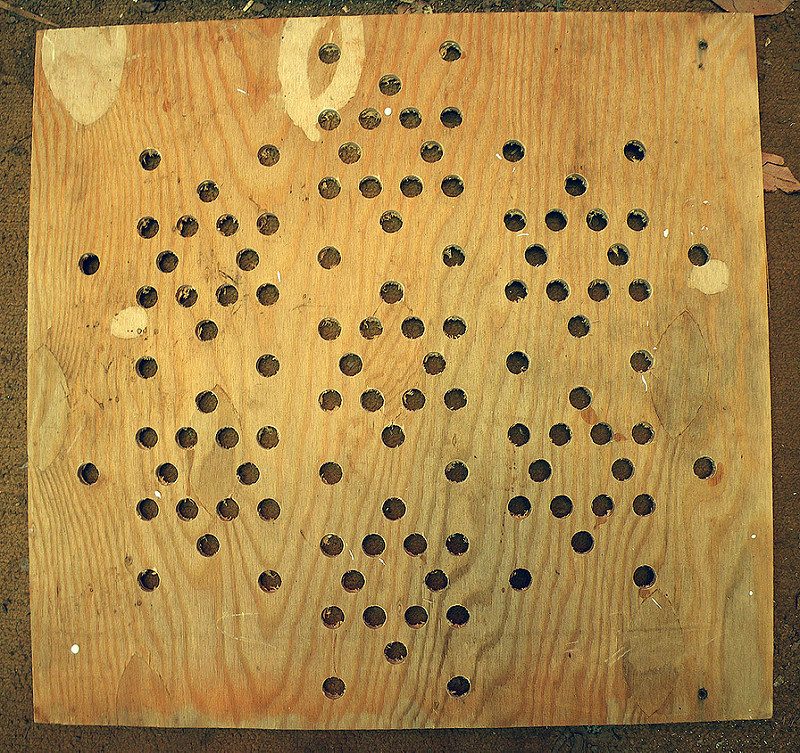
108template by ammaui, on Flickr
Here is the jig. dave at jollyrodgers . net
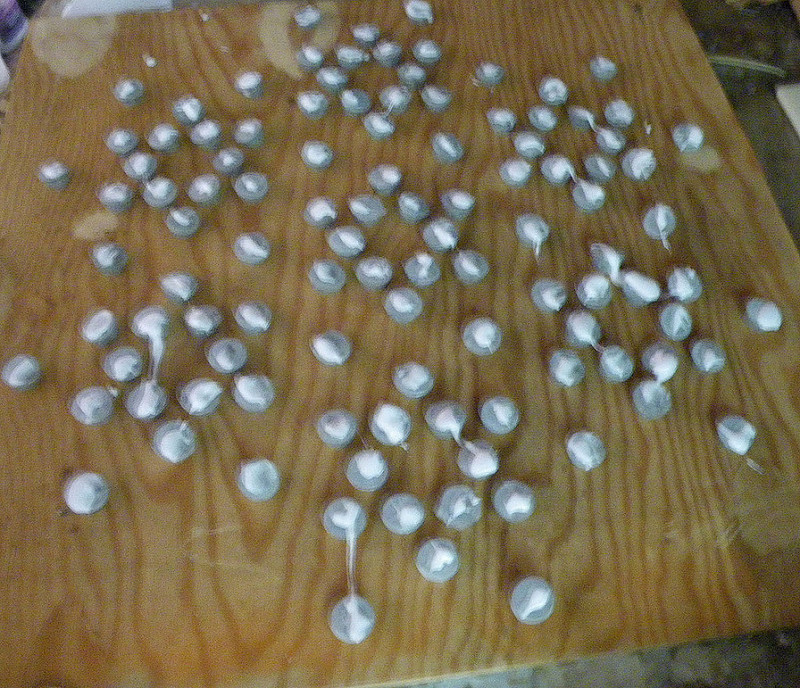
108gluing by ammaui, on Flickr
Here is the jig with the buttons loaded in and the glue applied. For cosmetics you may want to do a more careful glue application.
Once you get to this point you can lay the back-up board on top. Walk away now and let it dry. or, slide 1 hand under the jig and put your other hand on top of the back-up board to flip it over on to the table like a cake. With the template on top you can look in the holes to check if all the buttons are in the center of their holes. Use a pencil or similar to reposition any stragglers. i kind of moved the whole thing around clockwise like setting up a pool table with the rack, then i put flat 3/4" ply scraps on the jig which was facing up, to weight the jig down. That spreads glue around on the side that you will see though. You could use clear glue if you are going for visual aesthetics. Allow glue to dry before removing the template…
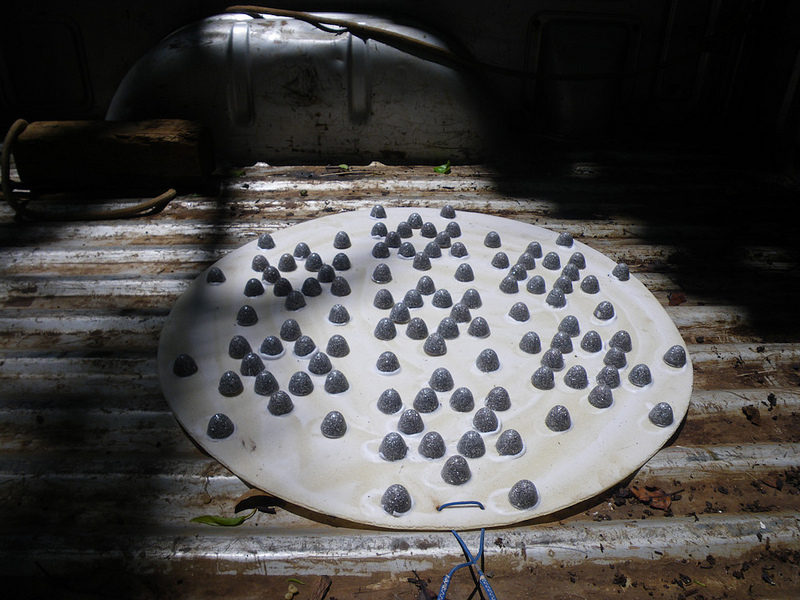
108truck-4 by ammaui, on Flickr
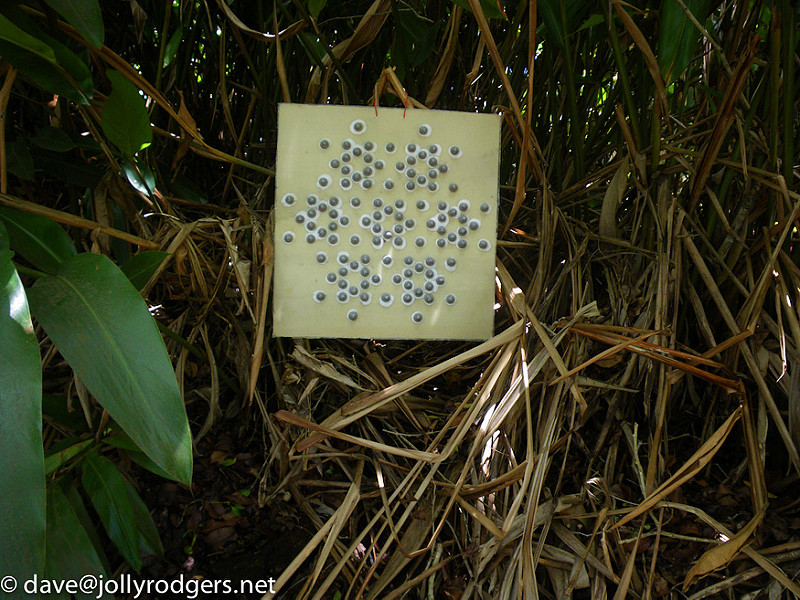
108ginger by ammaui, on Flickr
This one has a layer of 4oz glass over the foam. the other has a coating of the same bog used to glue the buttons down. The bog is a mix of resin, glass bubbles, and aerosil. -powders that are used to thicken resin.
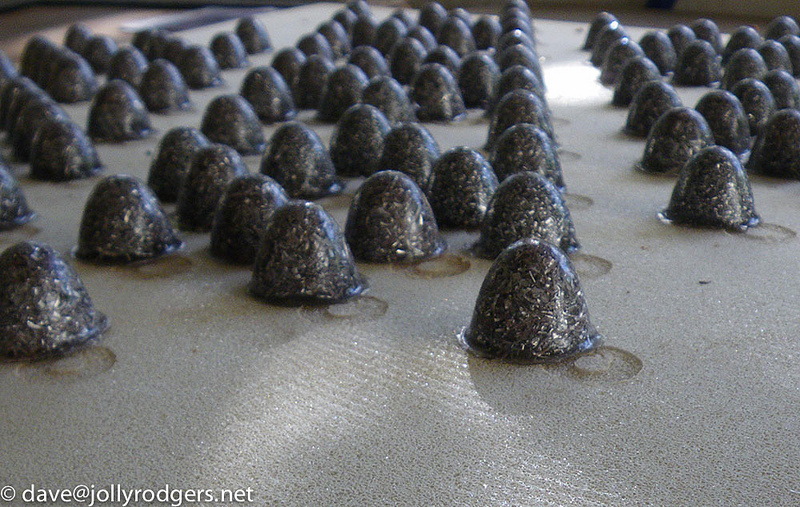
nipples by ammaui, on Flickr
note: all the speculations contained here are subjective, and the trivium was not applied to them per se. As the saying goes, once we can explain how gravity and magnetism work, then maybe we will know more about orgone.


